Network Material: a node graph artists can read
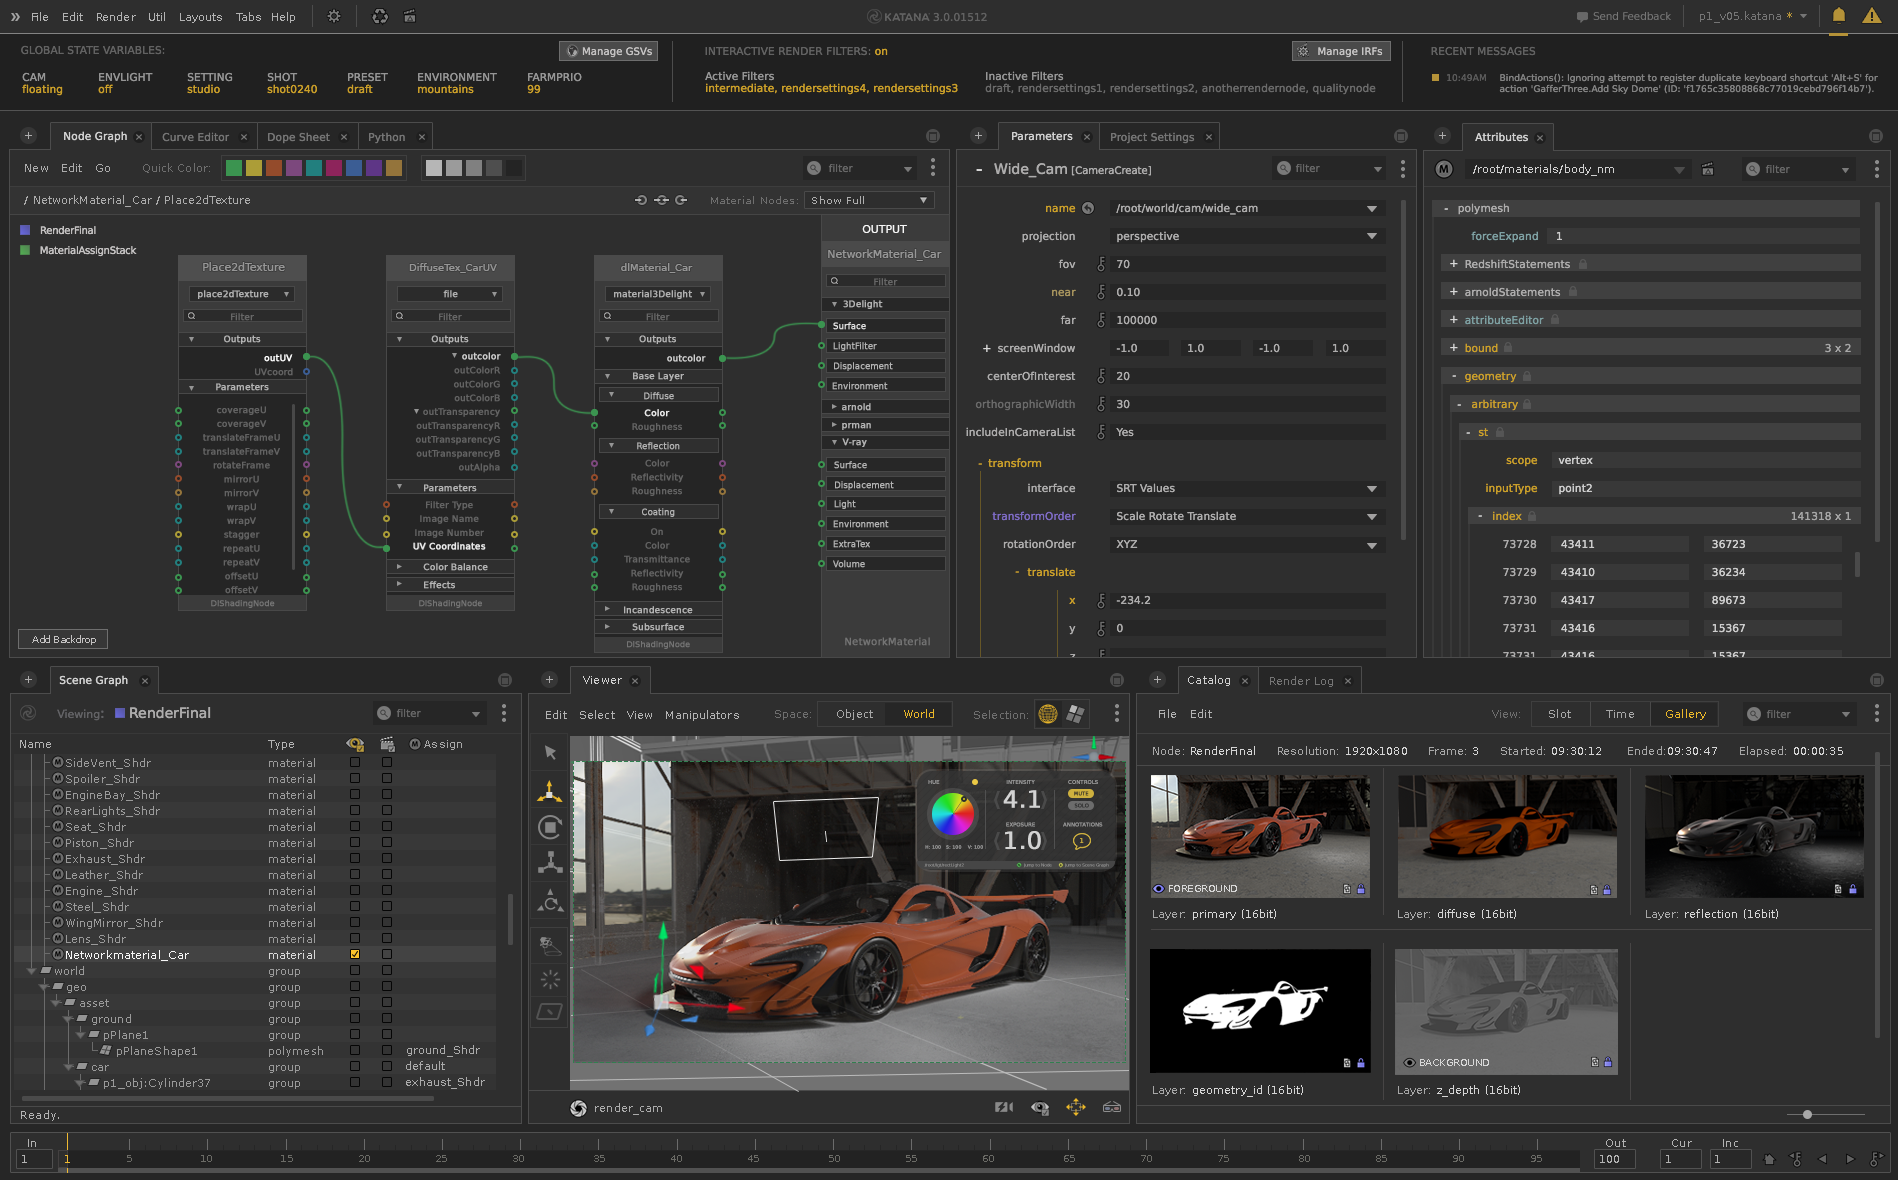
Katana is Foundry's lighting and look development application, used by some of the largest studios in visual effects and animation. Its artists build shots with thousands of assets inside complex production pipelines, so every interaction has to hold up at scale.
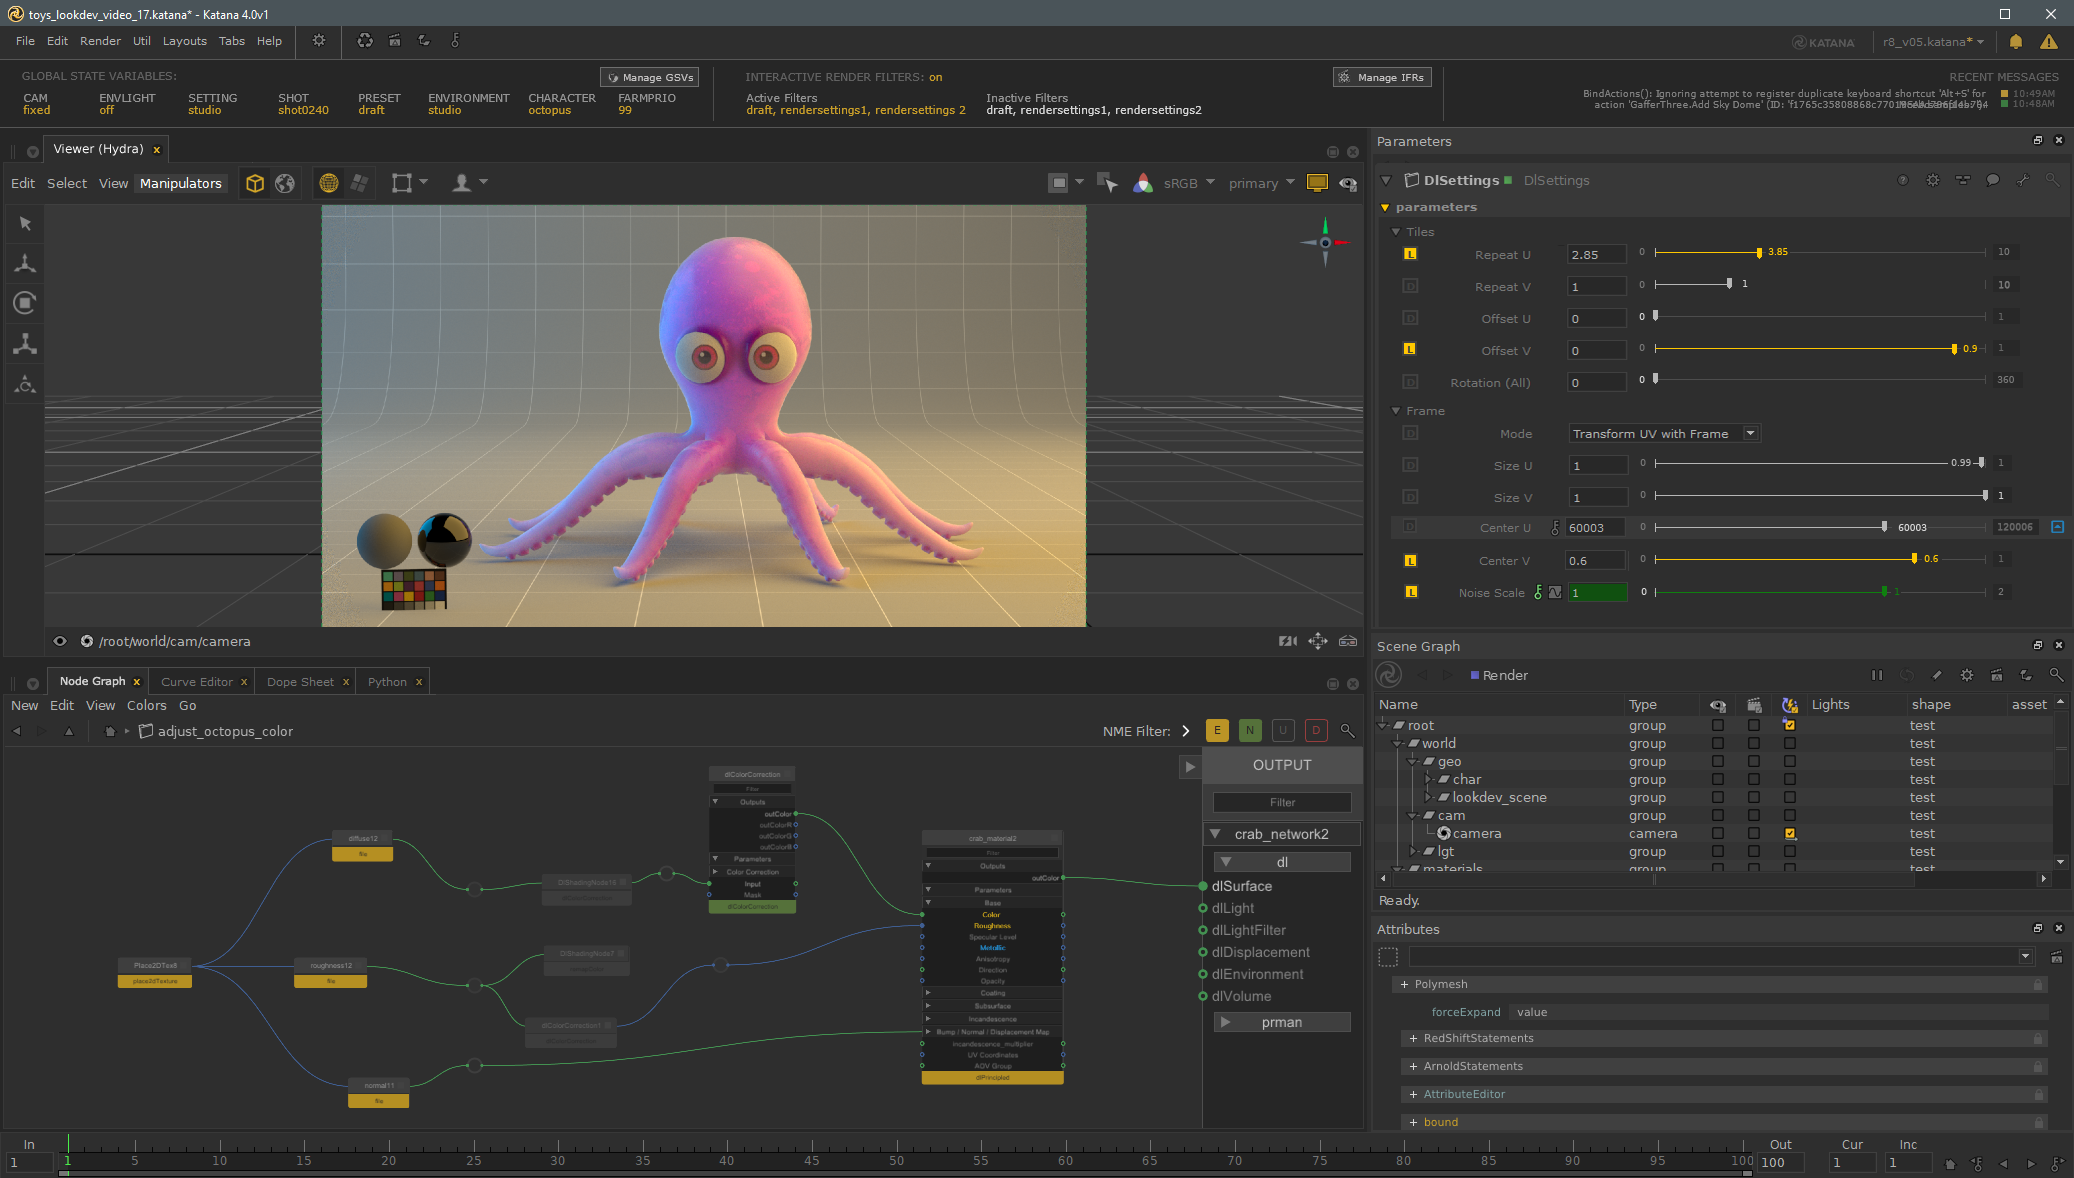
I redesigned the node graph artists use to build materials. The new graph flows left to right, shows only the connections that make sense at the moment you need them, and lets artists fold large networks into tidy, reusable groups. I designed it in 2018, it shipped as the headline feature of Katana 3.2 in August 2019, and I extended it in Katana 3.5 based on how artists used it. It was adopted by studios including Pixar, ILM, Sony and Blizzard Entertainment. Seven years later, I came back and rebuilt it for USD.
The problem
Every surface in a film, whether skin, brushed metal or a dragon's scales, is defined by a material. Artists build materials as networks of nodes. It's visual programming: each node does one job, and the connections between nodes define the result. On a production, a single material can run to 5,000 nodes.
Katana's shading architecture underneath was already powerful. The problem was the interface on top of it.
There was also a hard constraint: the new experience had to sit on top of the existing architecture, so studio pipelines built on Katana kept working.
My role
I was the product designer on Katana, working with product managers, developers and QAs and with artists at customer studios. I was responsible for research, interaction design, prototyping, usability testing, working with engineering through delivery.
Starting in studios
I visited several studios and sat with lighting and look development artists while they built materials on live productions. The pattern I kept seeing was repetition. That became the principle behind the redesign: efficiency and ease of use.
Show the right connections, at the right moment
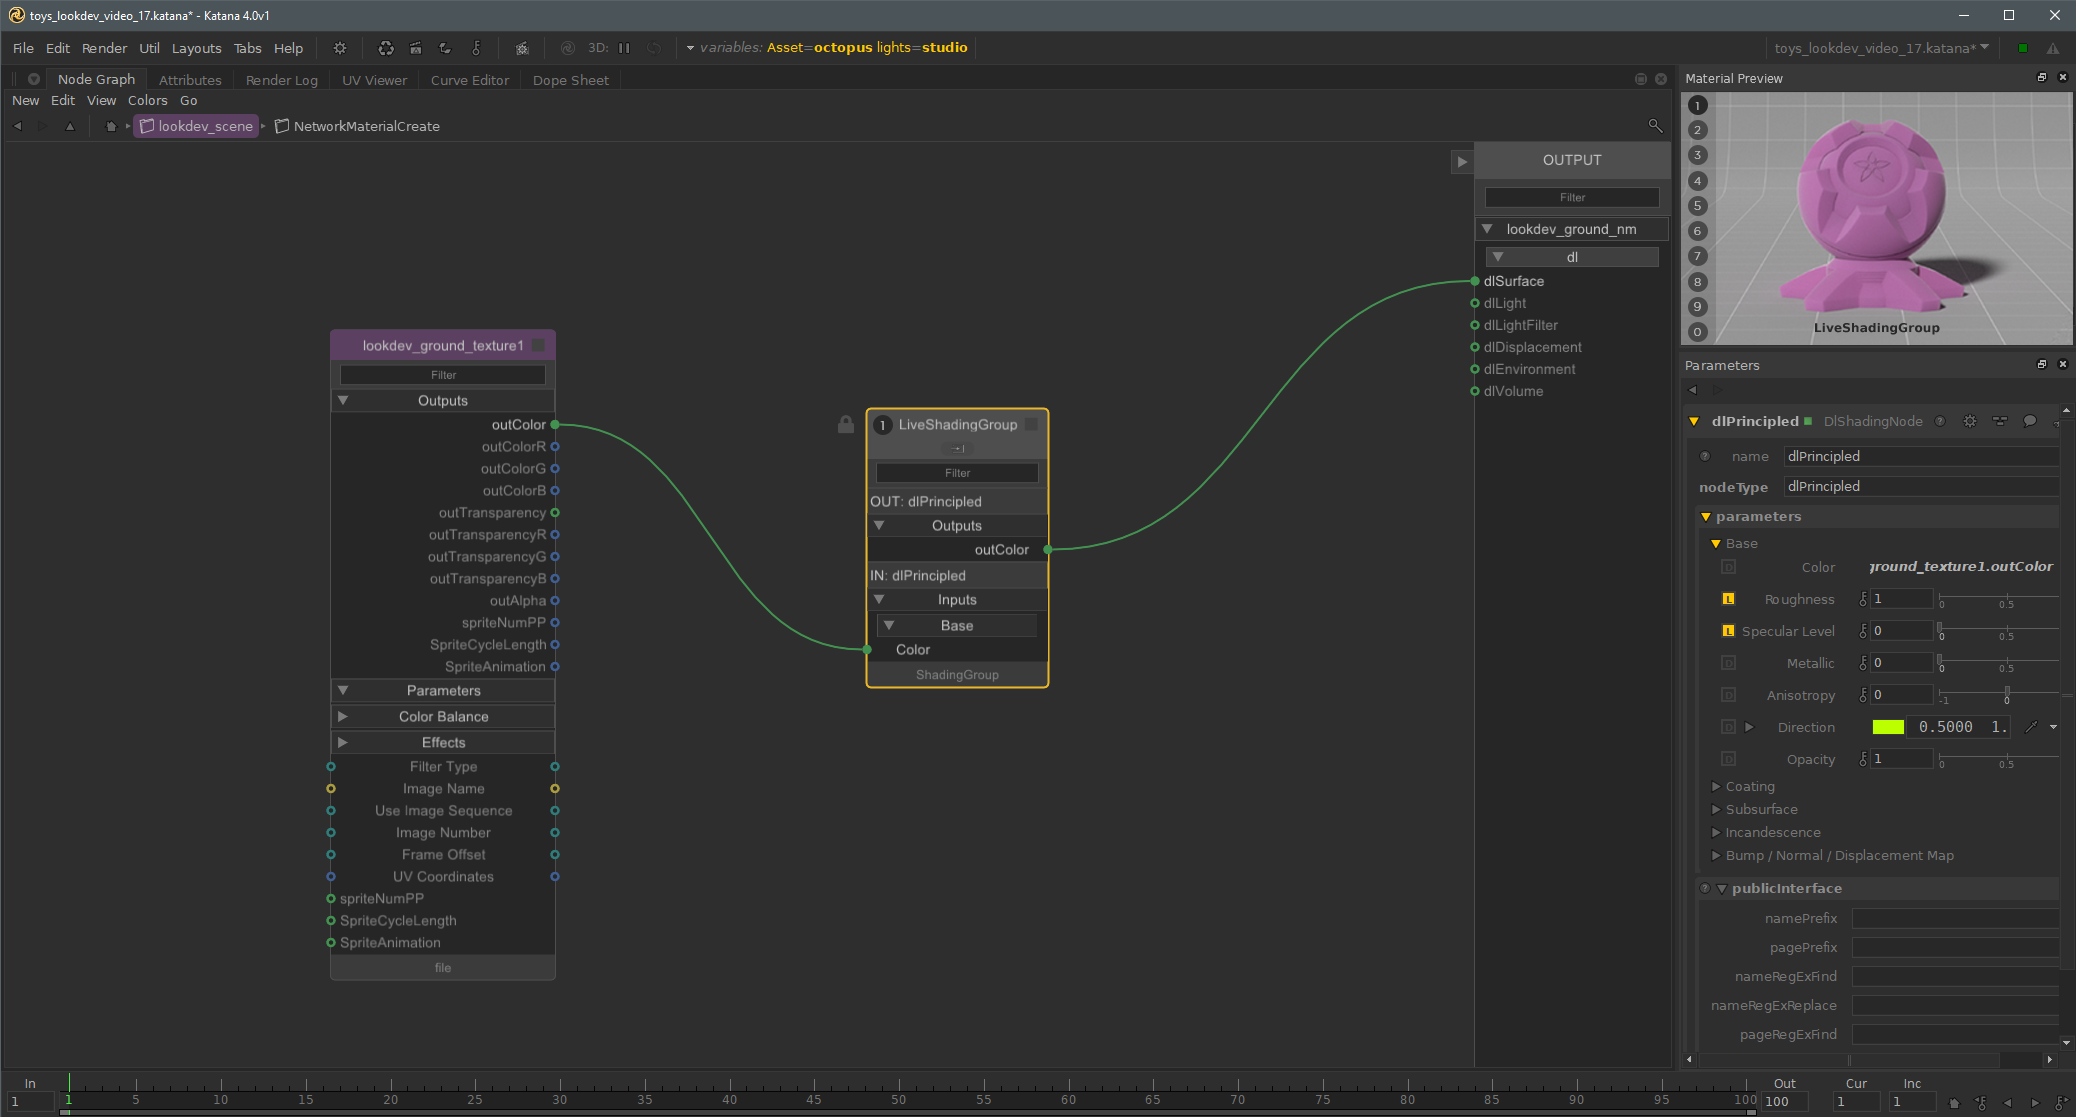
Nodes reveal every viable connection when the artist needs it, so nobody has to memorise what plugs into what. In a tool with hundreds of node types, that turns guesswork into recognition.
A consistent left-to-right flow
The whole network reads left to right, from inputs to the final material, with its structure exposed in the graph rather than hidden inside panels.
Groups to manage complexity
The Shading Group node collapses a complex section of a network into a single self-contained node. It works like a function in code: the internals are hidden, and only the inputs that matter are exposed.
Building on the architecture, not replacing it
Designing the new interface on top of Katana's existing shading system meant studios got a better experience without rebuilding their pipelines.
Iterating after release
Once Katana 3.2 was in production use, feedback from our customers and their artists fed into Katana 3.5:
- Artists can define custom inputs and outputs on a Shading Group, so a group can be a complete material or a reusable building block.
- A hotkey turns selected nodes into a Shading Group, including many groups at once, with more responsive interaction.
Outcome
- Shipped as the lead feature of Katana 3.2, announced as a faster, more intuitive way to create materials.
- Adopted by studios including Pixar, ILM, Sony and Blizzard Entertainment.
- Foundry positioned the new UI as a foundation for years of look development work, and it was: I rebuilt it for USD in 2025.
Seven years later: USD Network Material
USD is the industry-standard way for studios to describe and share scenes between tools. In 2025 I redesigned the node graph for USD Network Material, building on my original design.
Other Katana work
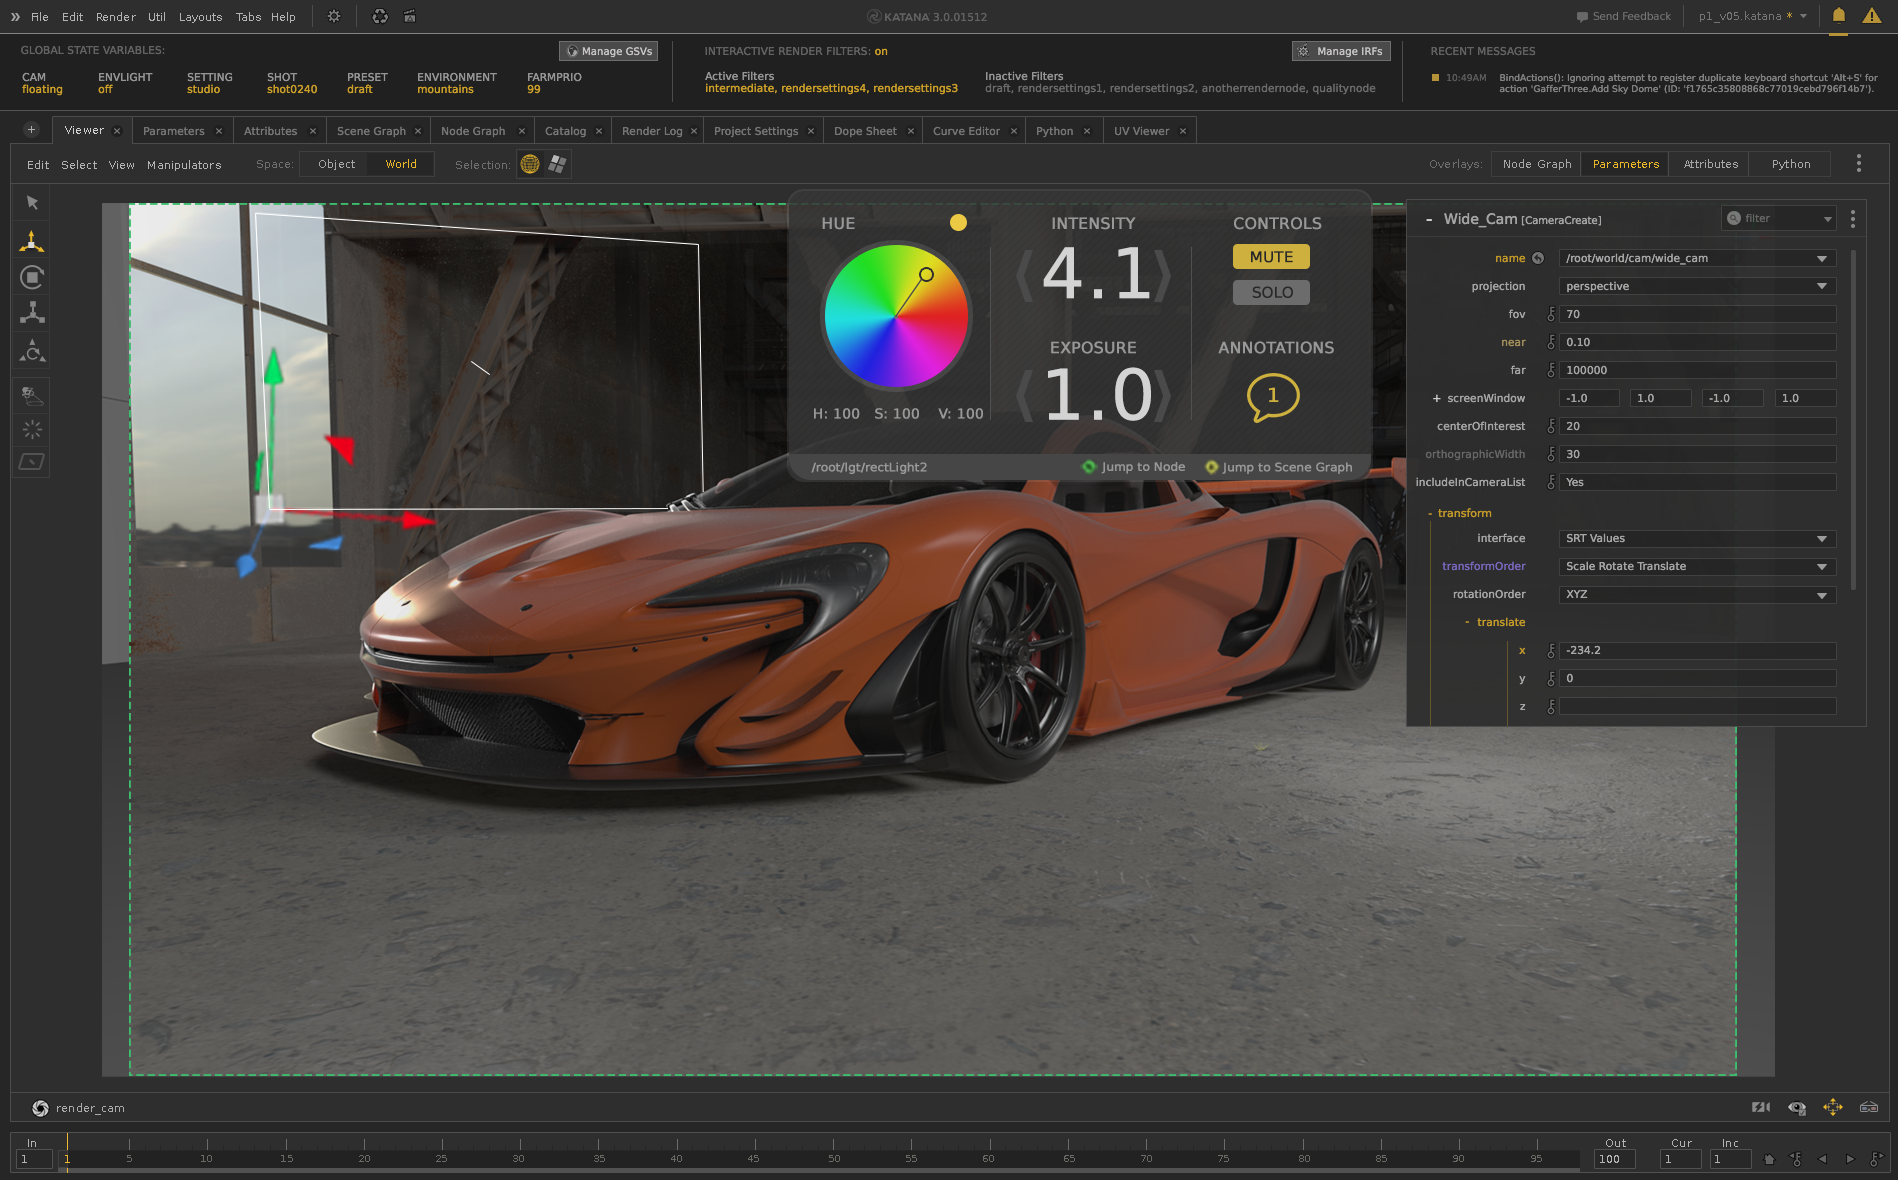
Across eight years on Katana I also designed lighting tools directly in the viewport, a big addition for an application that is a lighting tool at its core, and redesigned the Render Hub interfaces. Much of this work started in studios, through visits, user interviews, focus groups and beta testing.